
This is the beginning. A neighbor had a few Bradford Trees cut down. I had asked them to have the tree service cut the logs in half, not split the logs, but this was really a bonus and greatly appreciated.

Here you find the log almost completely sawed through using my trusty and small electric chain saw. Not as good as a gas model, however I can assure you the neighbors like this quiet unit allot.

Here the fresh Bradford Pear board ( see how Pink and White the wood is) is separated from the log.

The wood is beginning to darken as the drying process continues. To help stop splitting during drying I painted both ends and left the bark on.

Here we see the board dried and ready to begin smoothing. Notice there is some cracking but was controlled as best as possible during the months of drying. I could have easily had the board planed smooth but my intention was to leave the wavy surface that was cause by fee sawing with a chain saw and only smooth to that surface. I felt this was in keeping with keeping the bench as close to the tree as possible. I was not looking for a perfect bench but rather something that harked back to the trees from which it came.

Since I was not going to take the easy way out and have the board planed smooth I had to begin by chiseling all the ridges, caused by the chainsaw, down to more of a taper so I could then rasp them even further before sanding. As you spend time doing this, on both sides, the thumb on the hand holding the chisel begins to hurt less as you become more accurate hitting the chisel with the hammer.

In this picture I am well on the way to final smoothing using the rasp and I have have also used a belt sander at times.

Here you can see where we are getting pretty close to smooth using a palm sander and a rotating sanding disk on a flexible shaft attached to a bench drill press. Just beyond the board you see Zazu asleep from bordum on her pillow. The life of a wood dawg is not necessarily easy.

It seemed like we would never get here but sure enough we are making progress! The Bench top is now cut to size, stripped of its bark and sanded down all the way to 220 grit.

But then you start from the beginning with the legs…the first thing is to remove the bark from the cherry branches from another neighbors yard.

Here we have the four legs with their bark removed and rasped smooth but still not cut to length. That bench they are on is a 1978 original Standly Work Mate. It must be not only the longest surviving tool I own but my most trusty one as well. Bit of history…the workmate was invented by the engineer that decontented the original Lotus Elan. Chapman who owned Lotus was famous for “less is more” sometimes to much so.

Well we must be close to finished as the parts are now allowed in the house. Here we have the bench top with 4 holes bored at approximately 13 degress. Why 13? Well that is what I learned in a one night lesson on stool making. The legs have been on the lathe and had their peg turned but the bottoms appear to be at final length but not yet turned.

Here is a shot with the legs dry fitted. Note how they fit proud of the bench top.

Here the bench is dry fitted but now the leg bottoms are leveled and rounded off and at the peg top their is the wedge of Paduck that will expand the pegs for a tight fit into the bench top.

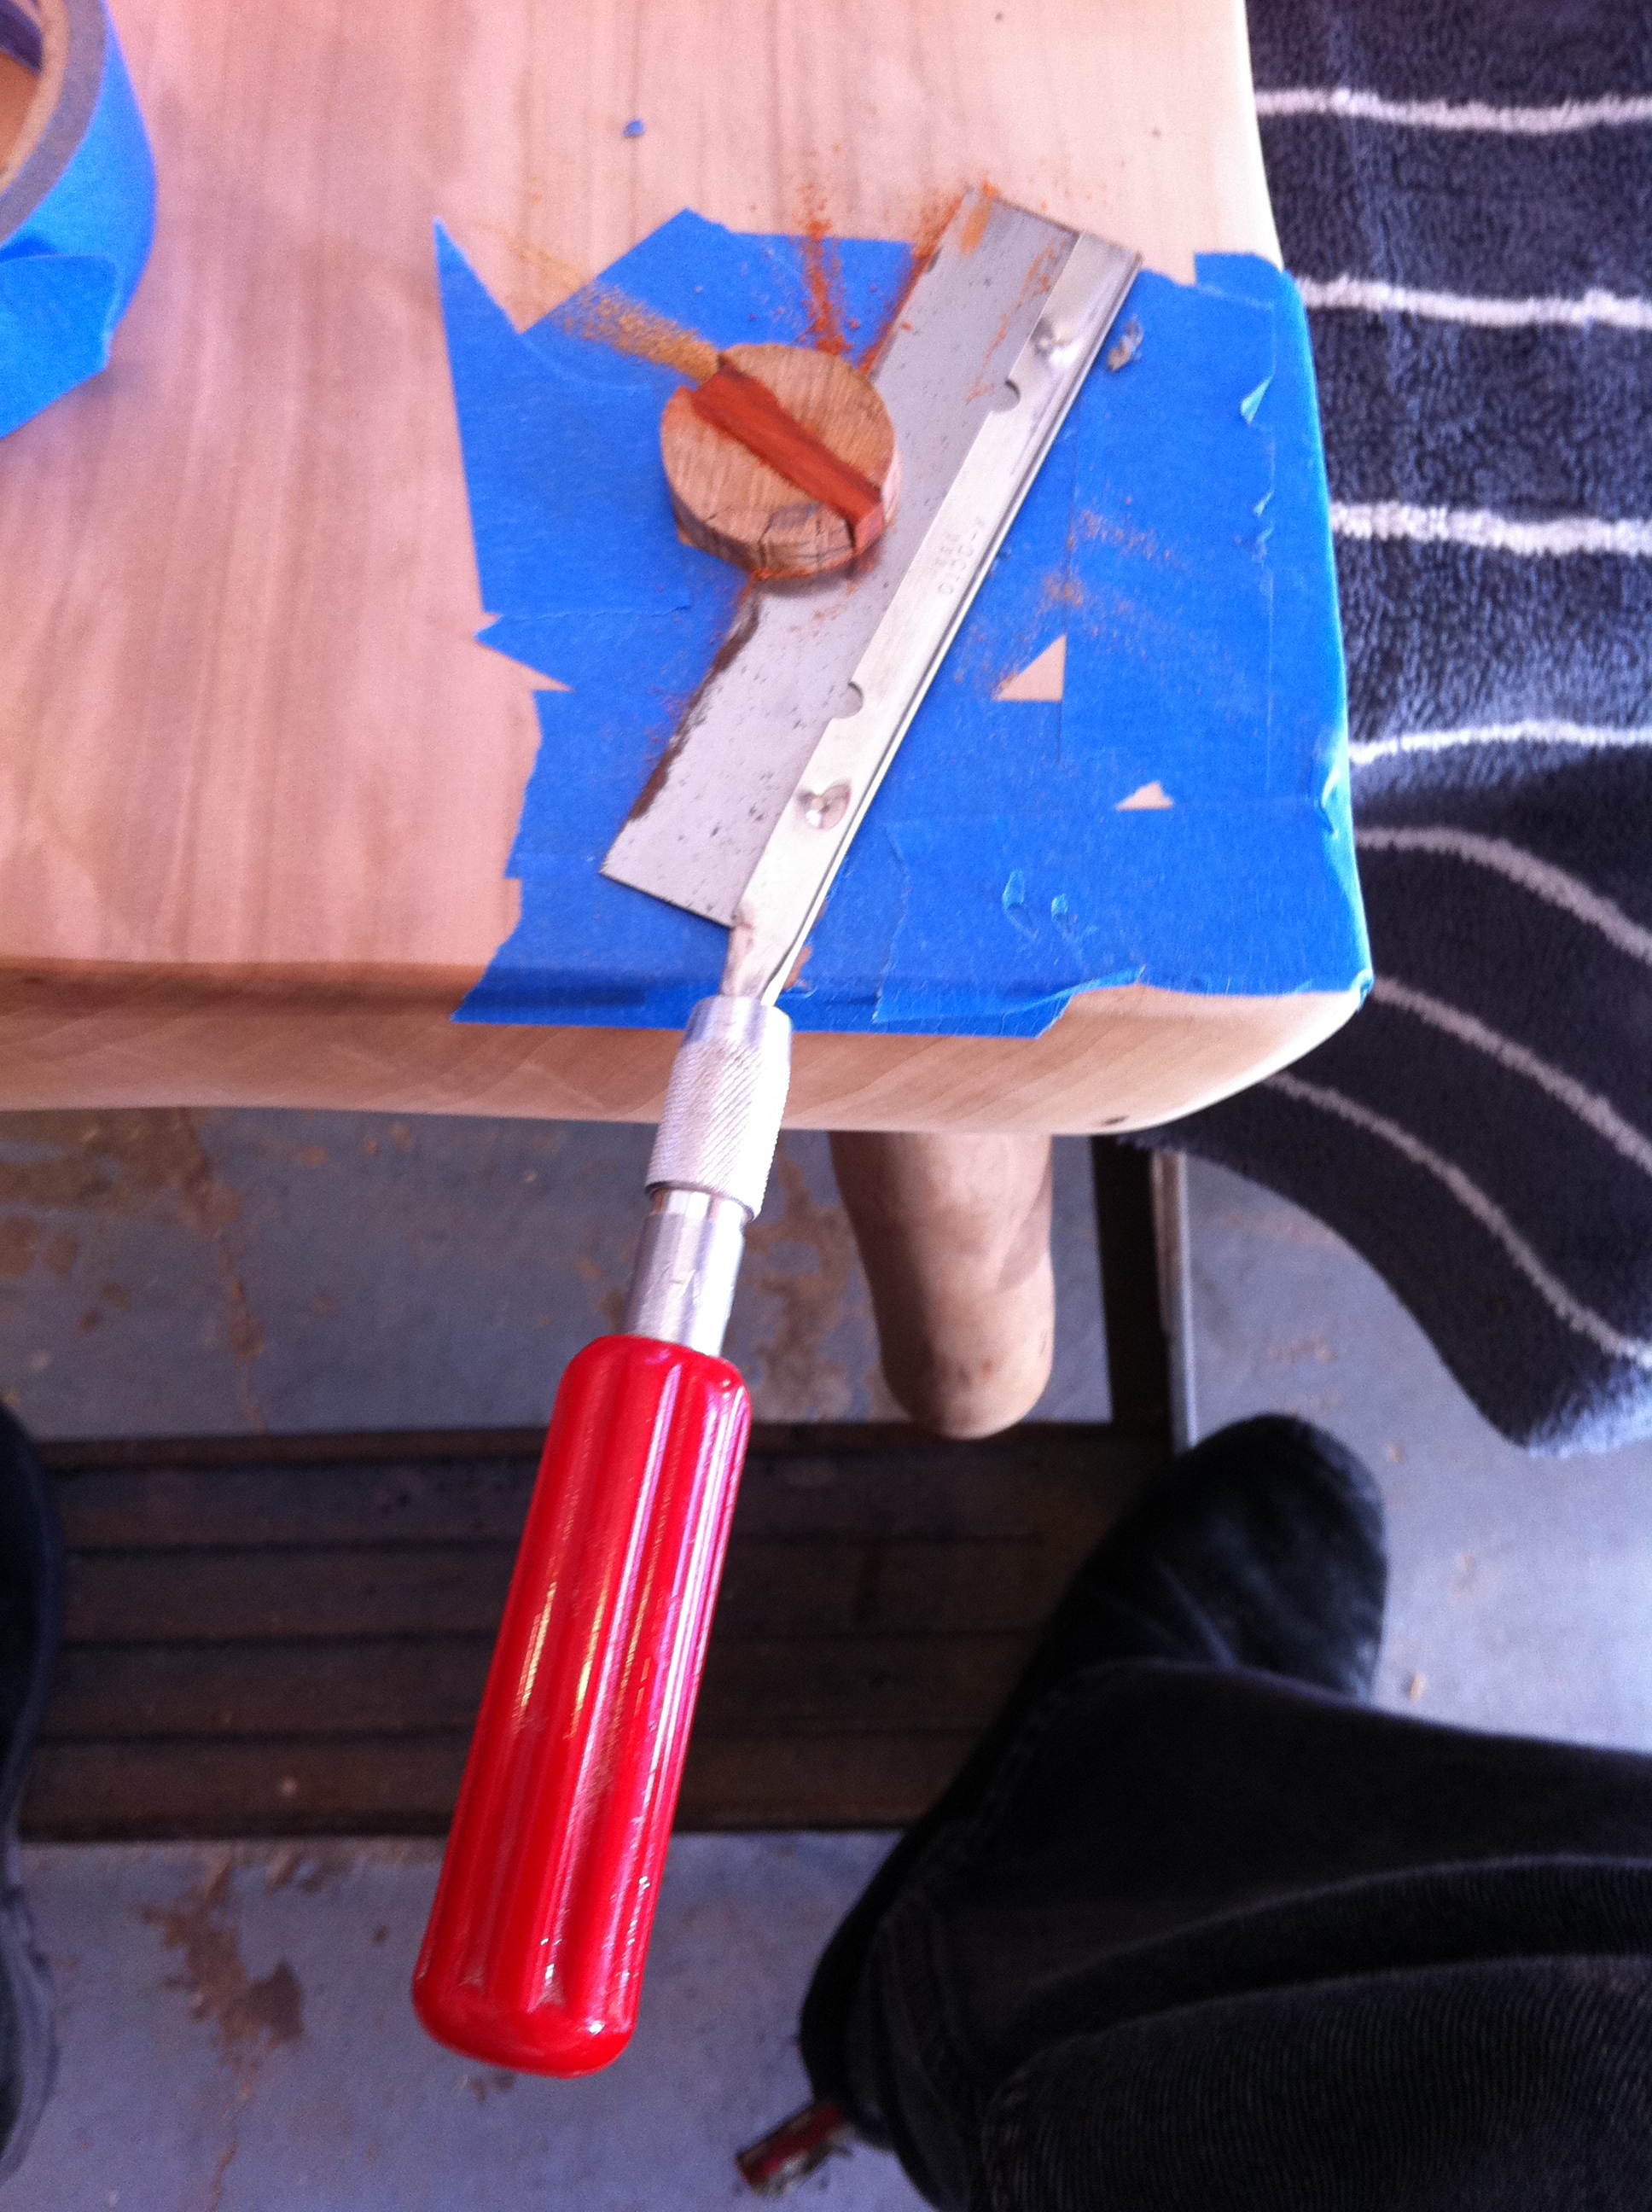
Here we are taping the bench top to protect it from the saw as we begin to cut the pegs down smooth.

Here you see how we use a razor saw to cut off the excess peg.

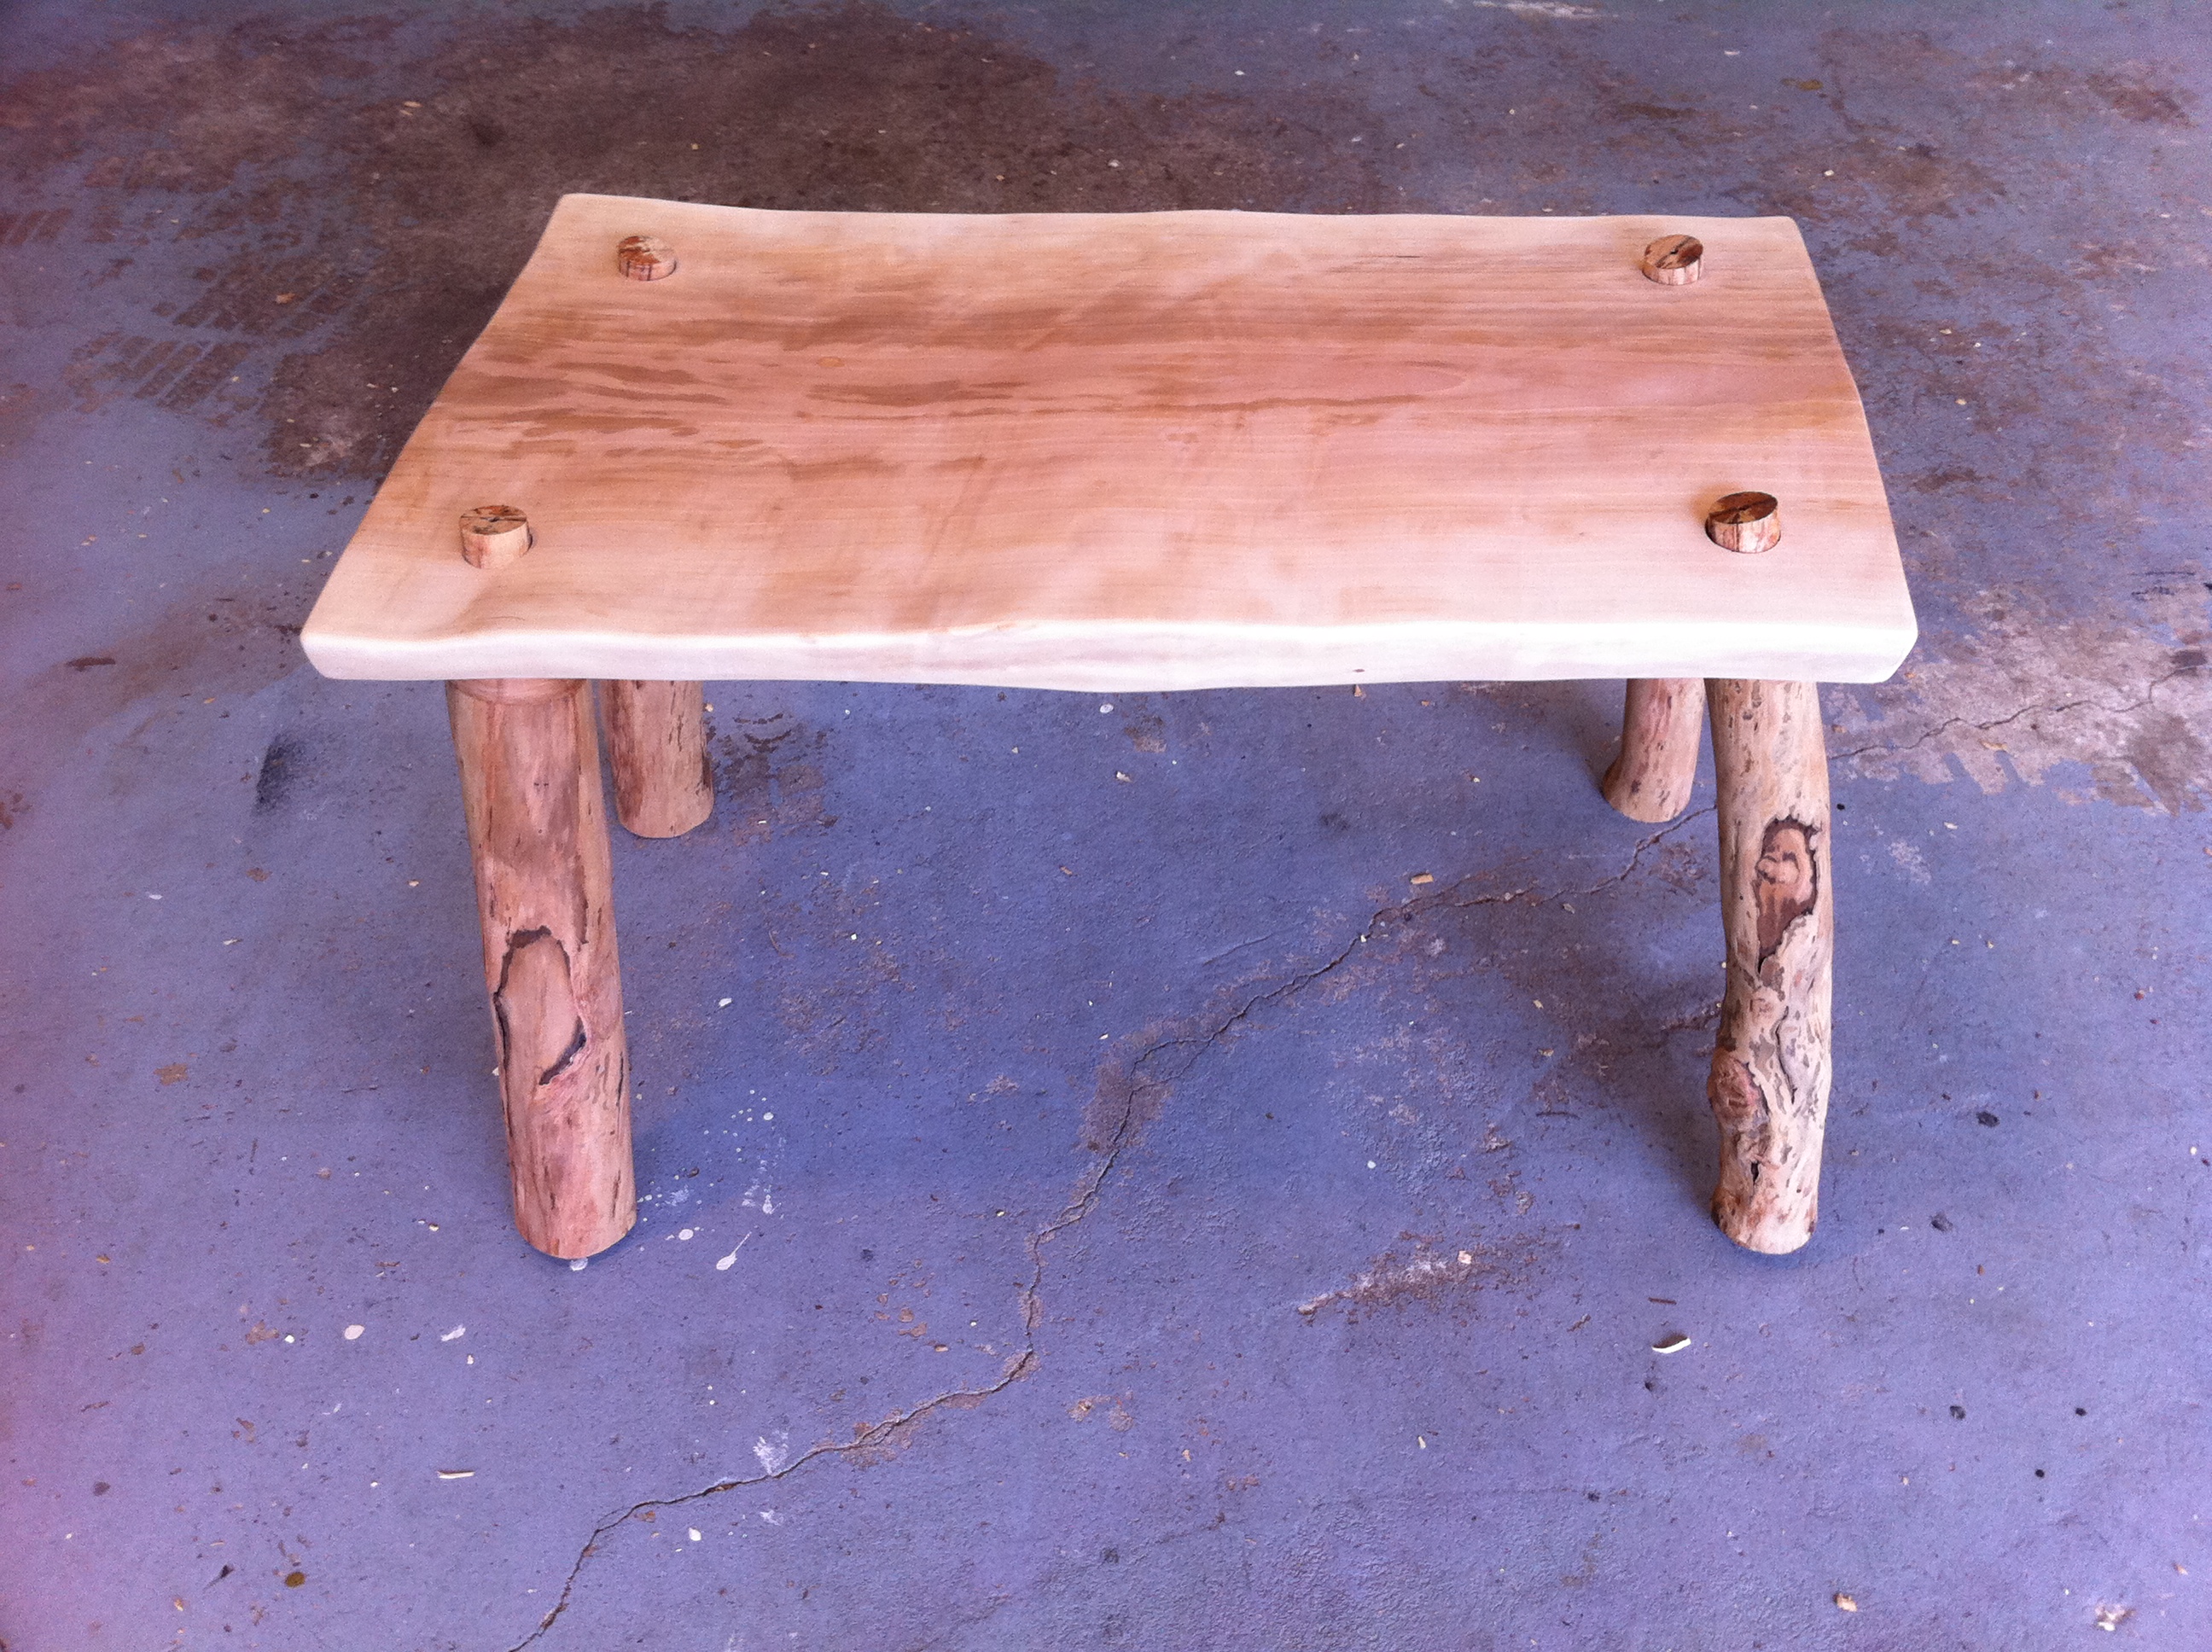
Here you have the bench finished. What did it take to get here? Well after the leg pegs were cut down flush the bench was sanded again with 220 grit, than 320 and finally 400 grit. Then a coat of Danish Oil was applied and allowed to penetrate for 30 minutes. After that the excess was wiped off and another coat was applied for 15 minutes and then the excess was wiped off. Finally a third coat was applied, dried and the excess wiped off. Then the bench during the next week was given the opportunity for the Danish Oil to penetrate and dry, the whole time being occassional rubbed down using my bare hands. After about three weeks I then signed the piece.

It must be a decent bench as its Zazu Approved.
I believe this project has set me on a different course than I had planned for this year. I will definiately continue to turn bowls but now there will be a few benches and tables thrown in for good measure, learning and maintaining interest.